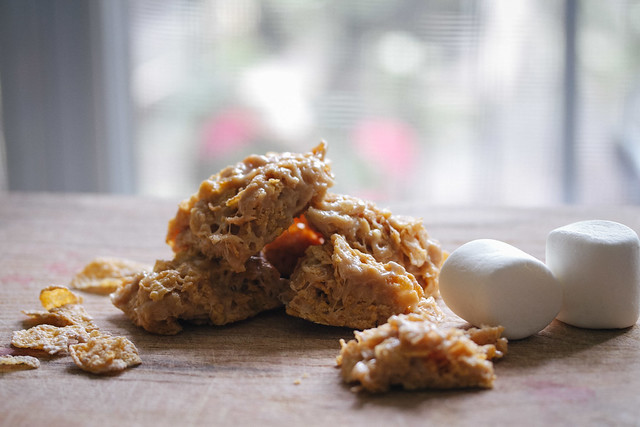
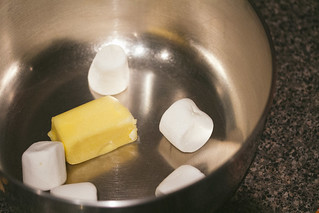
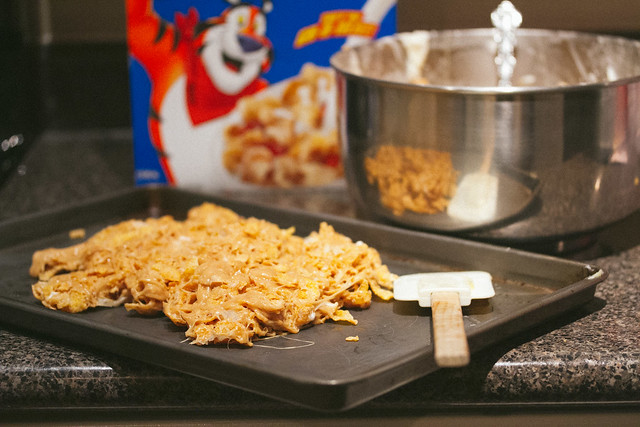
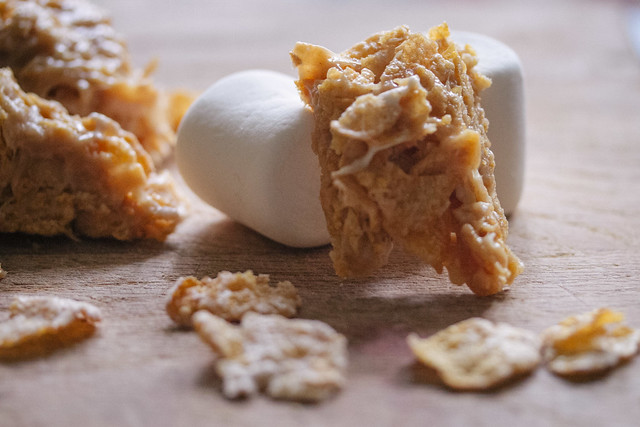
Tony the Tiger Bars1 bag of regular marshmallows1/4 cup butter 1/3 cup peanut butter 7 cups of frosted flakes |
|


Tony the Tiger Bars1 bag of regular marshmallows1/4 cup butter 1/3 cup peanut butter 7 cups of frosted flakes |
|
| In the endless game of "catch-up," I want to tell you about a little food date from two weeks ago. My friend Jennifer and I went to Houston's popular Tiny Boxwood's for dinner, followed by second dessert at The Chocolate Bar.
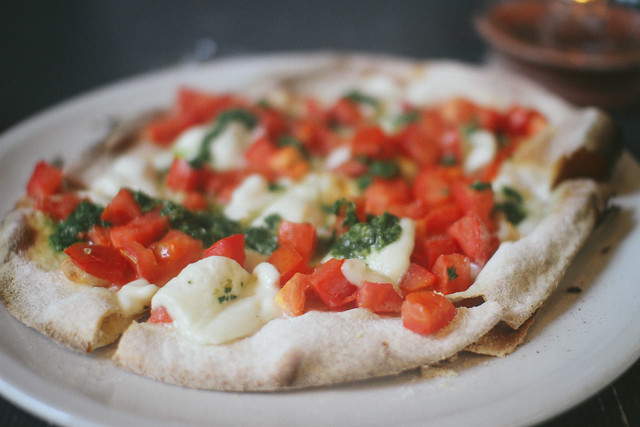
I ate at Tiny Boxwood's once before for lunch and just about died over the grilled cheese and pesto sandwich, the chocolate chip cookie, and homemade lemonade. A whole year later, and I still fondly remember this meal. In addition, this is the typically the first restaurant recommendation to come out of the mouth of any young Anthropologie-loving girl from Houston. "Make sure you order the chocolate chip cookie, too! It's ahhhh-mazing!" With Jennifer, we arrived at Tiny Boxwood's for an early dinner. We ordered glasses of wine, the refreshing white wine mojito, and the buffalo mozzarella pizza to split. We concluded the meal with, of course, the classic melt-in-your-mouth chocolate chip cookie. The Tiny Boxwood's dinner vibe widely differs from the lunchtime vibe. The atmosphere is more formal, you order from your table instead of the cafe counter, and the lights are dimmed. It is a finer dining experience and serves as an excellent spot for a dinner-date. So really, check out Tiny Boxwood's for lunch and dinner. During the day time, meander over to nearby garden + landscaping business for extra greenery to accompany your lunch. And at night, score a table outside, and enjoy the white wine sangria. With each meal, be sure to conclude with the chocolate chip cookie too! Because it's ahhh-mazing! |
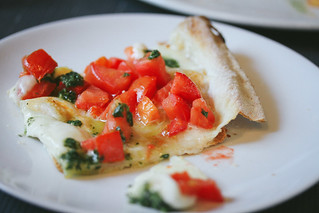
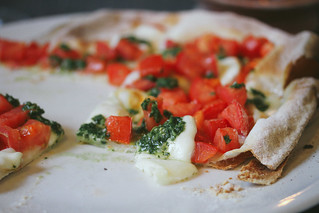
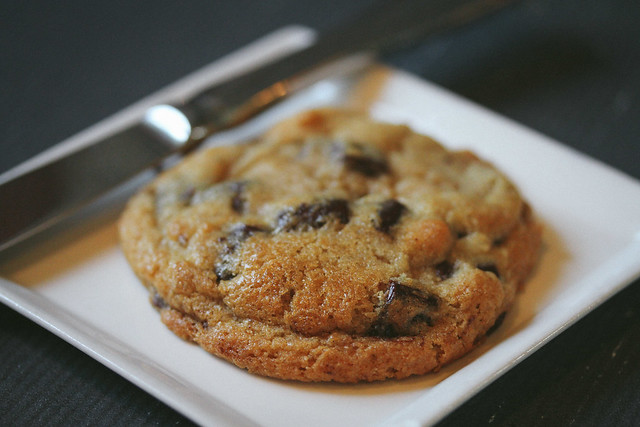
| I don't think Jennifer expected me to go for the chocolate chip cookie. But honestly, how could I resist. Still, we stuck to the original plan and went out for second dessert after dinner and went to Houston's The Chocolate Bar.
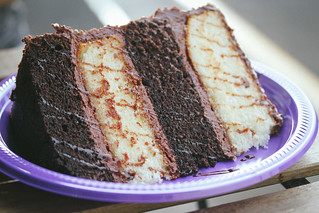
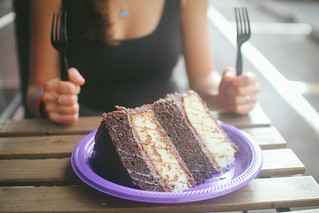
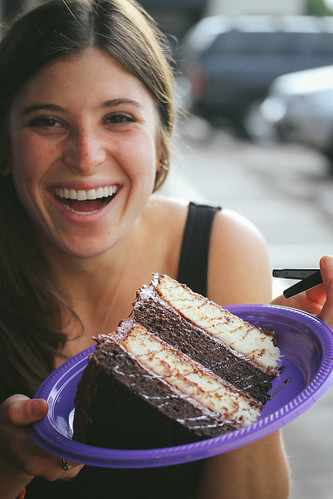
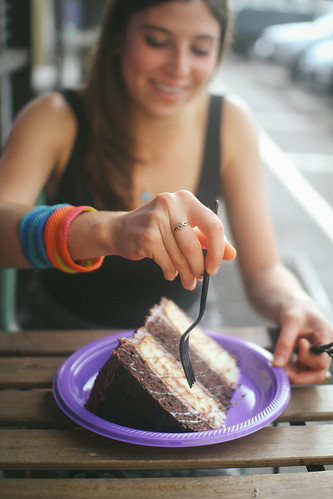
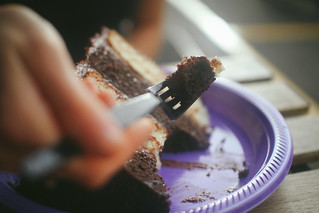
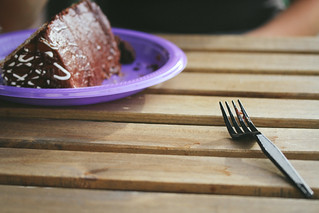
....where we ordered Mega Dessert, also known as Any Day's a Holiday Cake. (I could have sworn it was called Tuxedo Cake, but the internet does not lie). The cake retails for $75, or $10 a slice. There are alternating layers of chocolate and yellow cake, all held together with rich chocolate icing. I had about three bites before admitting defeat. Oh yes, the cake prevailed. Jennifer faired much better, but we still had a sizable portion to take home. Second dessert can be a formidable opponent. |

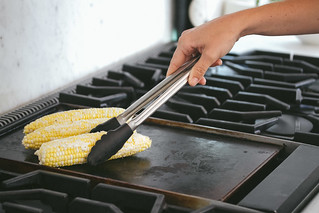
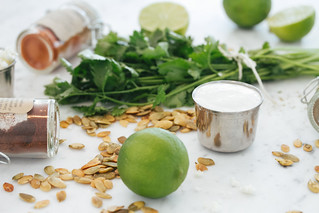
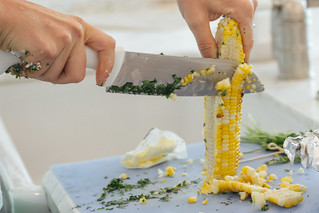
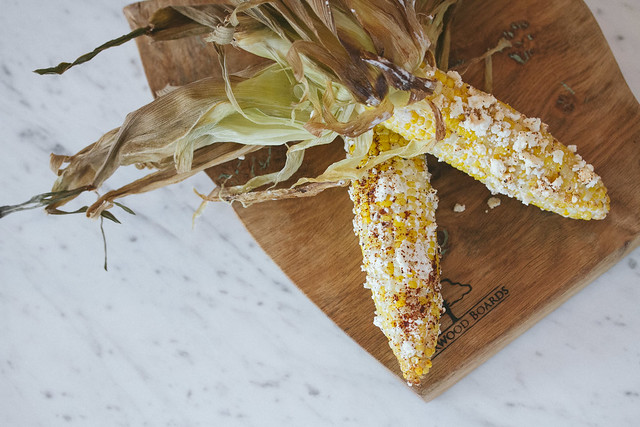
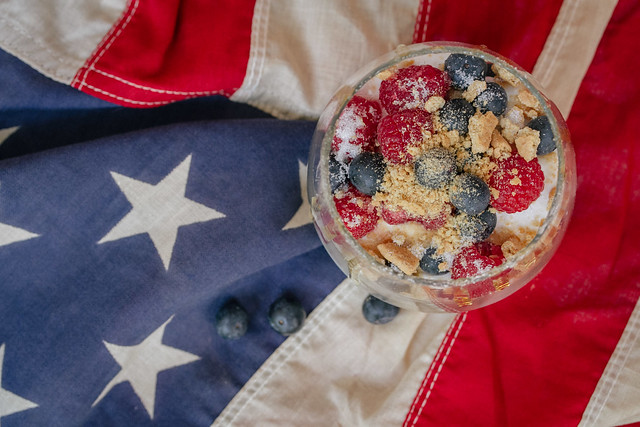
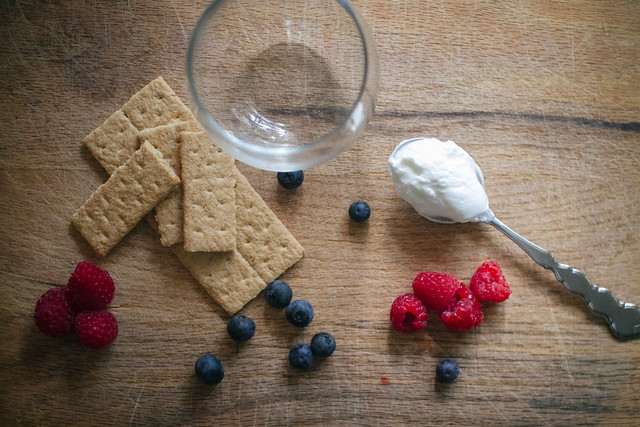
The 4th of July is a fantastic, though often overlooked holiday. Truly. When you are asked, "What's your favorite holiday?" Probably over half of you list Christmas and then Thanksgiving. Some, like myself, name Halloween as supreme holiday, while our more romantic counterparts might prefer Valentine's Day. (ick). A few people might say Easter, or St. Patrick's Day, or New Years. But the Fourth of July has so much to offer.
|
|
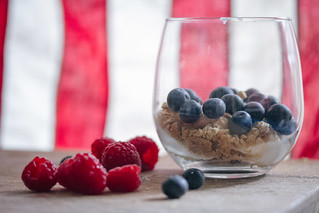
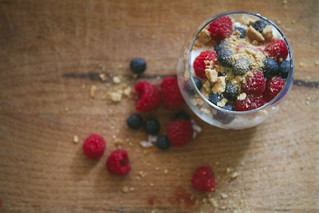
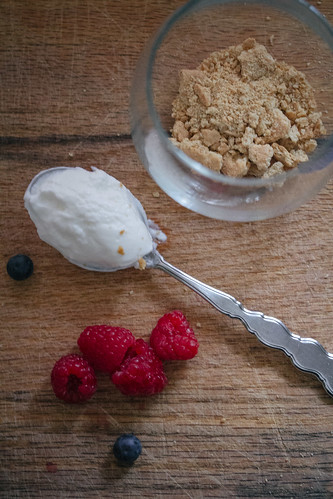
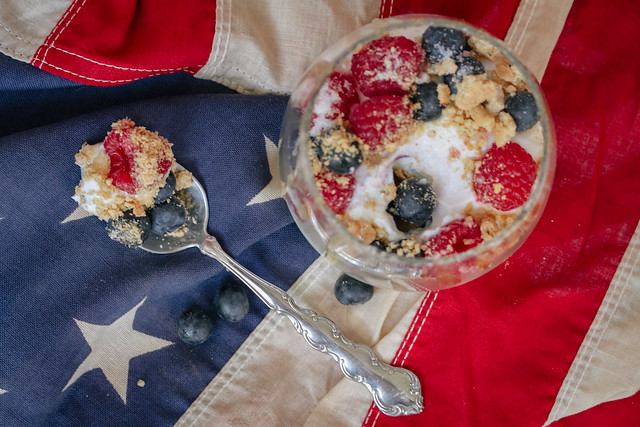
Red + White + Blue ParfaitRaspberriesBlueberries Crush graham crackers 1-2 cups of Greek yogurt |
|

|
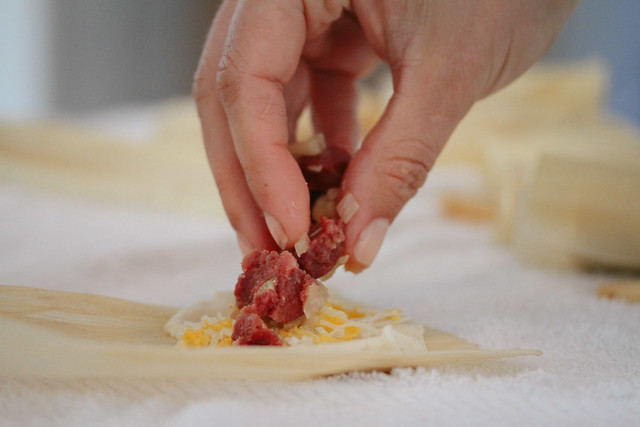
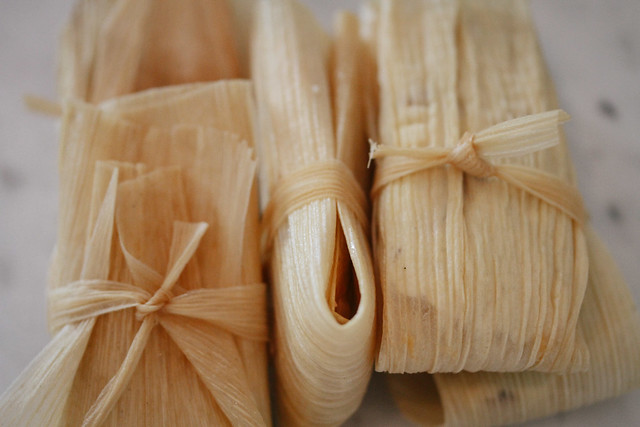
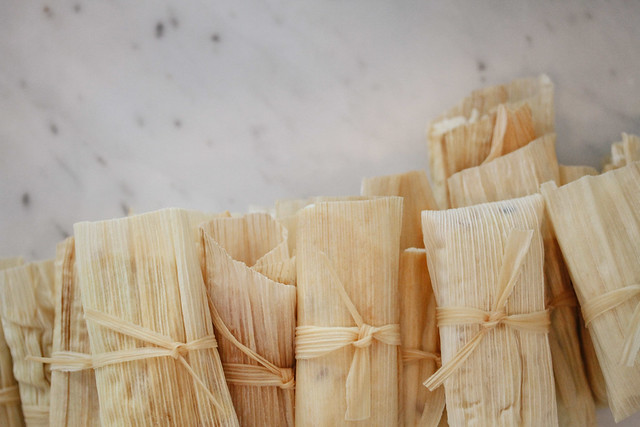
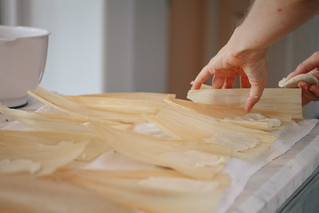
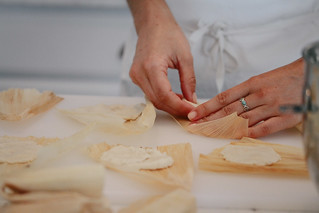
During our junior year of college, Kelley and I lived in a little tiny green house just north of campus, near Hyde Park. We called it the Tom Green House, and along with four other roommates, we had a very soul-rich abode that favored coffee and coffee mugs, marathons of the OC, and year-round Christmas decorations. At the time, Kelley was not completely sold on the culinary school idea, though must of the roommates were definite encouragers. But occasionally, Kelley would create a lovely family dinner for us all. This is how I was introduced to Kelley's homemade tamales, and subsequently fell in love. It truly was a family dinner; everyone was given a task to help make the homemade tamales. Given my heart ties to Guatemala and Latin America, it was our best family dinner as well. Recently, Kelley made tamales again--three different varieties: one featuring venison, one with black beans and goat cheese, and one with chicken and....I don't quite recall, but I ate it and it was delicious. Some tips for making your own tamales:
|
